Microsoft Bot Builder is new and very powerful feature that can be use to utilise chat channels to automate communicate and do conversation with real world user.
There are very good documentation how to start with Microsoft Bot Builder. Below are the links where you can quickly start with bot builder.
How to install and setup project
https://docs.botframework.com/en-us/csharp/builder/sdkreference/gettingstarted.html
Getting started with Bot Builder
https://docs.botframework.com/en-us/csharp/builder/sdkreference/
Install and use Bot Emulator to test your Bot
https://docs.botframework.com/en-us/tools/bot-framework-emulator/
You will also find very good example on below link for understanding of basic FormFlow structure and usage.
https://docs.botframework.com/en-us/csharp/builder/sdkreference/forms.html
I will be providing the walk through of real world example where user can register the purchased product with company. I will start from creating basic bot application to real world example by distributing articles in different parts.
Usually for any type of registration below needs to be consider
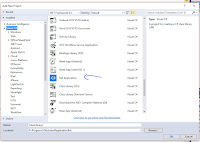
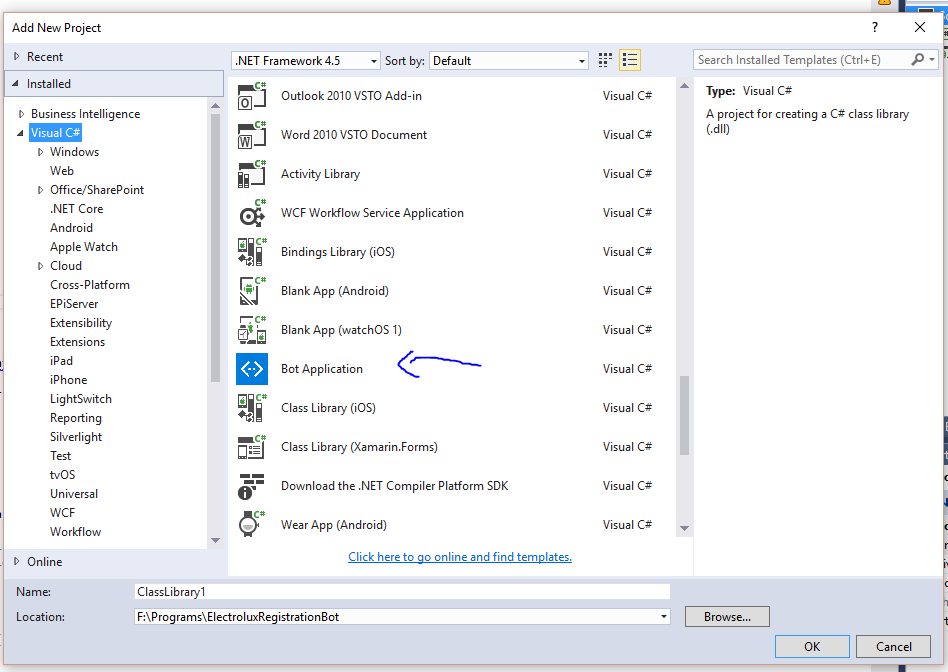
If you have followed above links then you should be able to create new project using Visual Studio.
one thing to consider in web.config. There are three app settings
MicrofotAppId and MicrosoftAppPassword needs to be empty during development and debugging.
We will have those settings when we will register our bot to https://dev.botframework.com/.
We will be need to update this settings during the deployment of our app to Azure Service.
Once you have project created you already have ready to use bot. Where user can send a message and bot will reply with number of characters in a message.
If you want to test you can start project.

Make sure Bot Base Url matches the url of your application and api/messages needs to appended to communicate with you message web api controller.


Once you received the message with number of characters then we are sured our Bot is now in working condition.
This is the end of Part 1. In Part 2 we will be Registering our Bot to https://dev.botframework.com/ and publishing our App to Azure Service.
There are very good documentation how to start with Microsoft Bot Builder. Below are the links where you can quickly start with bot builder.
How to install and setup project
https://docs.botframework.com/en-us/csharp/builder/sdkreference/gettingstarted.html
Getting started with Bot Builder
https://docs.botframework.com/en-us/csharp/builder/sdkreference/
Install and use Bot Emulator to test your Bot
https://docs.botframework.com/en-us/tools/bot-framework-emulator/
You will also find very good example on below link for understanding of basic FormFlow structure and usage.
https://docs.botframework.com/en-us/csharp/builder/sdkreference/forms.html
I will be providing the walk through of real world example where user can register the purchased product with company. I will start from creating basic bot application to real world example by distributing articles in different parts.
Usually for any type of registration below needs to be consider
- In a form there will be fields that needs to be answer step by step.
- Each fields need to be validated against certain requirement.
- Submit the form at the end.
- Send/Show confirmation message.
If you have followed above links then you should be able to create new project using Visual Studio.
Add New Project
one thing to consider in web.config. There are three app settings
   <add key="BotId" value="YourBotId" />

   <add key="MicrosoftAppId" value="" />

   <add key="MicrosoftAppPassword" value="" />
MicrofotAppId and MicrosoftAppPassword needs to be empty during development and debugging.
We will have those settings when we will register our bot to https://dev.botframework.com/.
We will be need to update this settings during the deployment of our app to Azure Service.
Once you have project created you already have ready to use bot. Where user can send a message and bot will reply with number of characters in a message.
If you want to test you can start project.
Start Bot Application
Debug (Menu) ---> Start Debugging. This will start web page with below message
Start Bot Emulator
Make sure Bot Base Url matches the url of your application and api/messages needs to appended to communicate with you message web api controller.
Send/Receive Message through Emulator

Once you received the message with number of characters then we are sured our Bot is now in working condition.
This is the end of Part 1. In Part 2 we will be Registering our Bot to https://dev.botframework.com/ and publishing our App to Azure Service.
No comments:
Post a Comment